

12 practical tips for better 3D modelling
10 November 2026

Guide · Updated 10 November 2026
Good 3D models are not just good-looking. They are easy to texture, rig, animate, render and change later. These twelve tips apply whichever software you use.
1. Start with strong reference
Collect photos, drawings and measurements before you begin. For characters, front and side views at the same scale save a lot of guesswork. For products, ask for CAD files or exact dimensions.
2. Work in real-world scale
Set your scene units and model at real size. Lighting, physics simulations, depth of field and AR placement all behave more predictably when a chair is actually chair-sized.
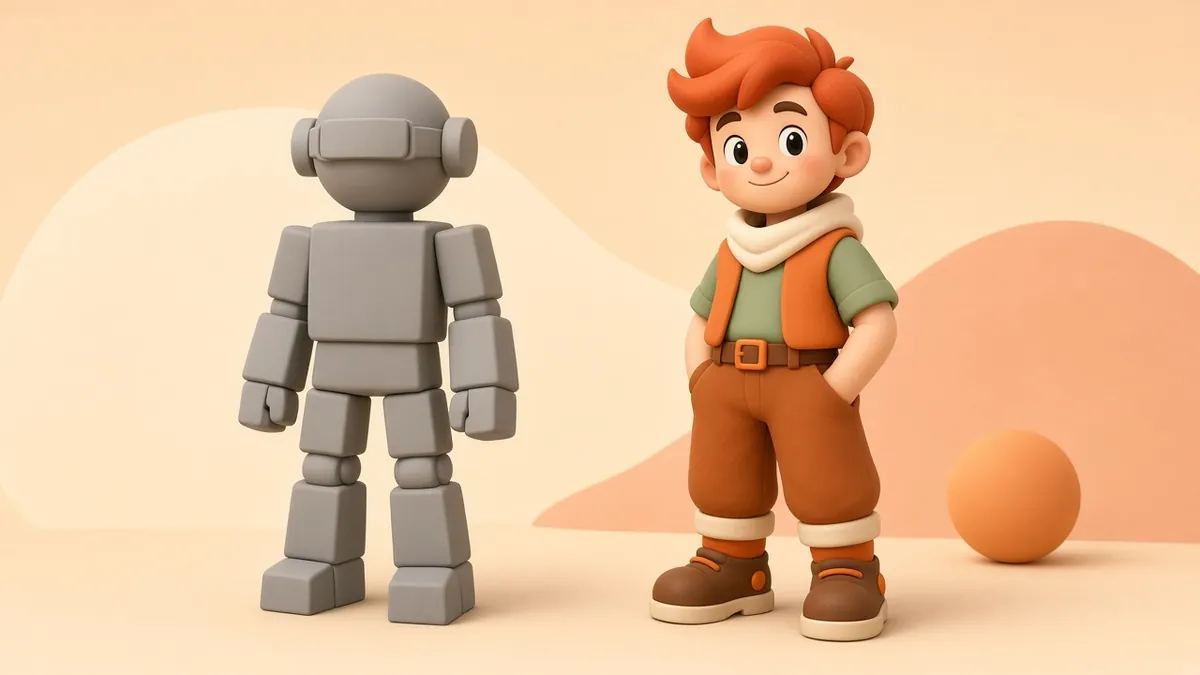
3. Block out first, detail later
Rough out the main shapes with simple primitives, check the silhouette and proportions from several angles, and only then add detail. Fixing proportions late is painful.
4. Watch the silhouette
A strong shape reads well even as a black outline. If a character or product is hard to recognise in silhouette, no amount of surface detail will fix it.
5. Prefer quads for anything that deforms
Four-sided polygons (quads) subdivide smoothly and bend predictably. Triangles are fine on flat, rigid surfaces and are what game engines use internally, but on faces and joints they can cause pinching. Avoid faces with many sides (n-gons) on curved or deforming areas.
6. Plan edge loops for animation
Faces and joints need edge loops that follow the way the surface moves: circles around the eyes and mouth, and extra loops at elbows, knees and shoulders. Good loops make the riggers and animators' jobs much easier.
7. Use subdivision wisely
Subdivision surfaces turn a light "cage" into a smooth, high-resolution mesh. Keep the base mesh simple, add support edges to control sharp corners, and let the modifier do the smoothing instead of manually adding thousands of polygons.
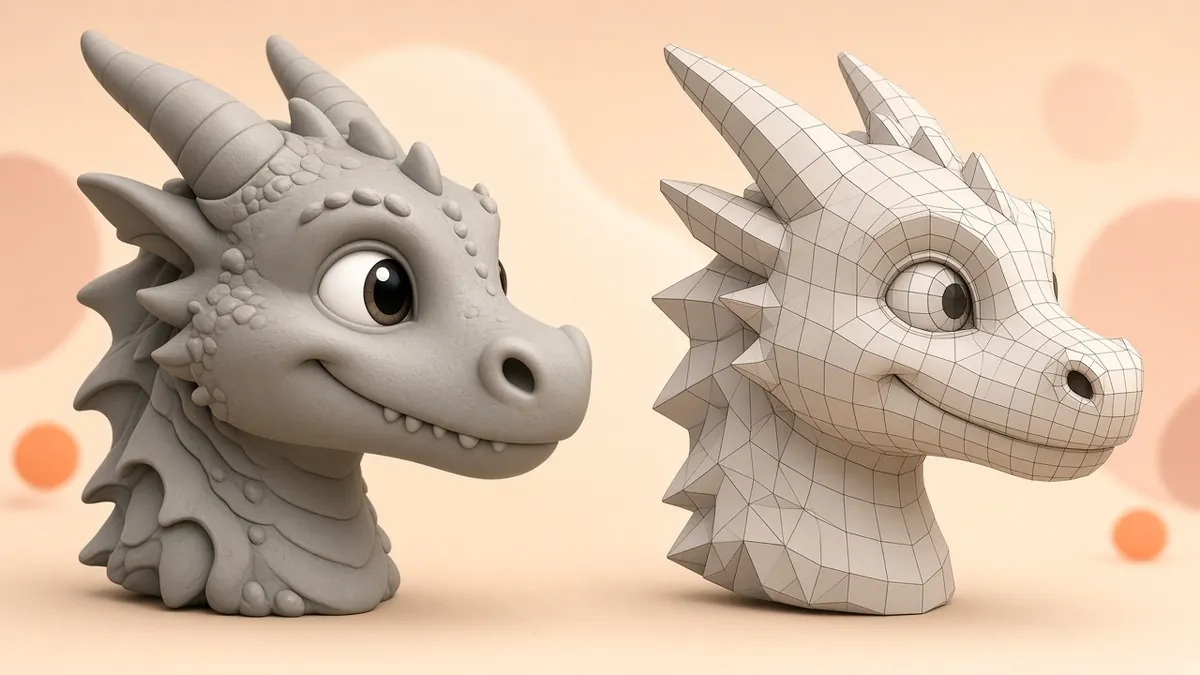
8. Sculpt, then retopologise
For organic detail, sculpt freely at high resolution, then build a clean, lighter mesh over the sculpt (retopology) and bake the detail into normal and displacement maps. You get the detail without the weight.
9. Name and organise everything
Name objects, materials and collections clearly ("Chair_Leg_FL", not "Cube.047"). Apply transforms, set sensible pivot points and keep the scene tidy. Anyone who opens your file later, including you, will thank you.
10. Lay out UVs carefully
Avoid stretching, hide seams where they will not be seen, and keep a consistent texel density, so that textures have similar sharpness across the whole model.
11. Build for the final platform
A model for a cinematic render can be heavy. A model for a phone, a website or a game needs a tight polygon and texture budget, and often several levels of detail (LODs). For web and AR delivery, glTF/GLB is a widely supported format. Ask about the target platform before you start.
12. Check before you hand over
Run a final checklist: no duplicate vertices or hidden faces, consistent normals, correct scale, clean UVs, applied transforms, and a test render under neutral light. If the model will be 3D printed, make sure it is watertight and thick enough. See 10 things to know before you meet a 3D printing company.
Quick answers
How many polygons should my model have? There is no single number. It depends on the platform: a cinematic render can use millions, while a mobile AR model needs to stay light. Agree a budget with whoever will use the model.
Should I learn sculpting or polygon modelling first? Polygon modelling teaches the fundamentals of topology that every other method relies on, so most artists start there and add sculpting later.
Which software should I use? Use whatever your team or studio already works in. The principles in this guide apply to all major 3D packages, including free ones like Blender.
Want a model built for you?
From products and props to characters ready for animation, see our services or contact us.