

A brief overview of 3D modelling and animation
10 November 2026
Guide · Updated 10 November 2026
3D animation is everywhere: in films, games, adverts, product videos, medical explainers and architecture. When Pixar released Toy Story in 1995, it was the first entirely computer-animated feature film. Today the same basic pipeline is used by large studios and small teams alike. Here is how it works.
1. Concept and pre-production
Every project starts on paper. The team agrees the story or message, writes a script, collects references and creates concept art and a storyboard. This stage decides what needs to be built, so it saves the most money when done well.
2. Modelling
Modelling is building the 3D shapes. The main methods are:
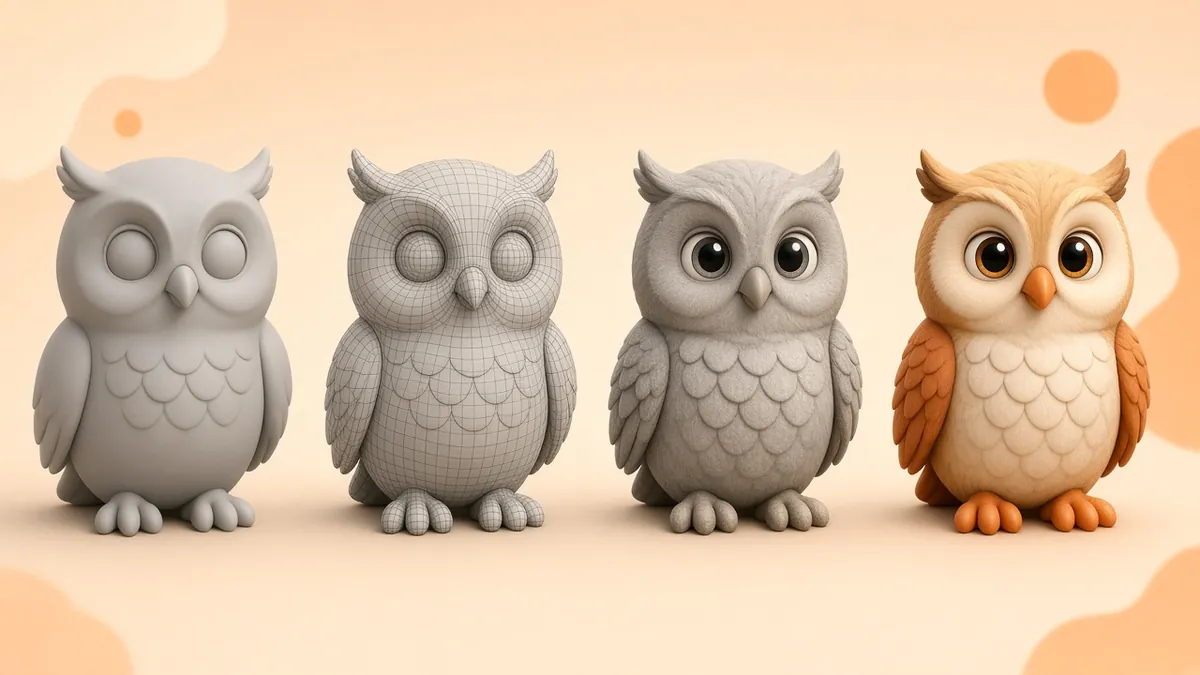
- Polygon modelling: shaping a mesh of vertices, edges and faces. It is the most common method for characters, props and environments.
- Subdivision modelling: a simple "cage" mesh is smoothed automatically into a high-resolution surface, which is how many smooth, rounded animated characters are made.
- Digital sculpting: pushing and pulling virtual clay, ideal for organic detail such as faces, creatures and wrinkles.
- CAD and NURBS modelling: precise, mathematical surfaces used for engineering and product design.
- Scanning: photogrammetry or 3D scanners capture real objects.
Models built for animation need clean "topology", meaning the polygons flow in a way that bends well at joints and in the face.

3. UV mapping, texturing and materials
UV mapping unfolds the 3D surface into a flat layout, like a sewing pattern, so 2D images can be painted onto it. Texturing adds colour, roughness, bumps and other surface detail. Modern pipelines use physically based rendering (PBR) materials, which describe how surfaces respond to light so they look correct in any lighting setup.
4. Rigging
A rig is the digital skeleton and set of controls that lets animators pose a model. It includes bones, skin weights that connect bones to the mesh, and controls for the face and body. Read more in our guide to choosing the right character rig.
5. Animation
Animators pose the rig over time. In keyframe animation, the artist sets important poses and the software fills the frames between them, which the animator then refines. Motion capture records real performers and applies the movement to the rig. Many projects combine both. Simulation handles things that are hard to animate by hand, such as cloth, hair, water, smoke and crowds.
6. Lighting
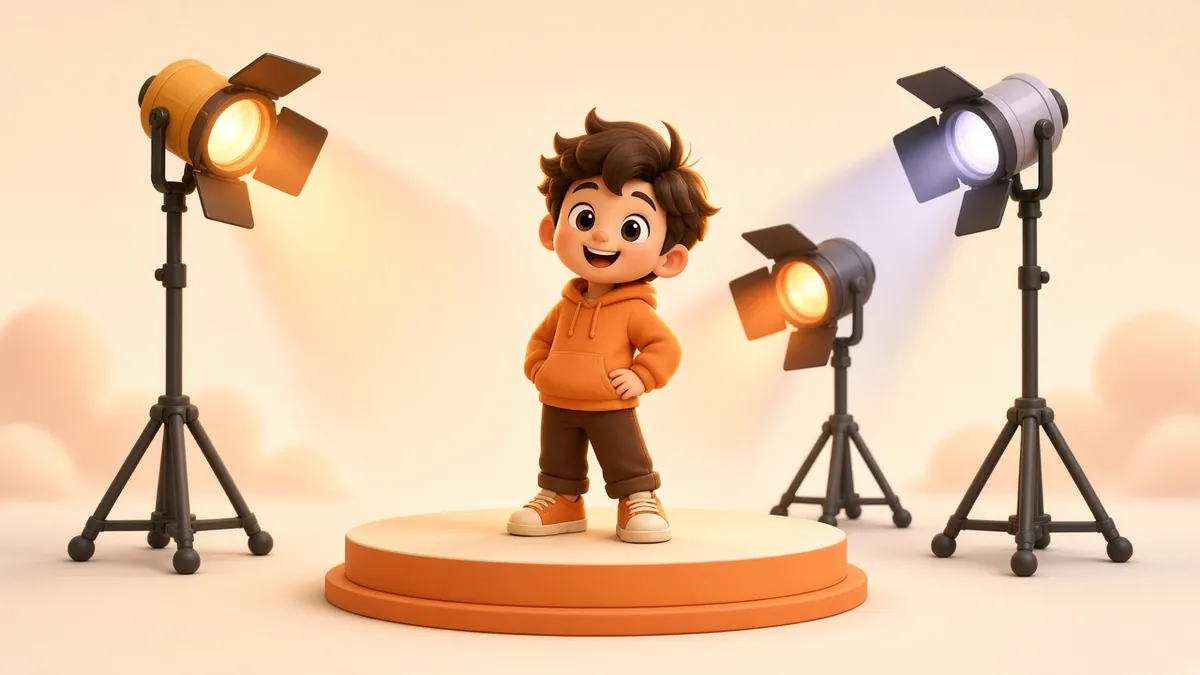
Lighting sets the mood and directs the eye, exactly as in live-action filmmaking. A typical setup uses a key light, fill light and rim light, plus environment lighting for realistic reflections.
7. Rendering
Rendering turns the 3D scene into final images. There are two broad approaches:
- Path-traced / offline renderers such as Blender's Cycles simulate how light bounces, giving highly realistic results but taking longer per frame.
- Real-time / rasterised renderers such as Blender's EEVEE or game engines are much faster, which suits previews, stylised looks and interactive work.
Remember that video is many images per second, so a one-minute animation at 24 frames per second is 1,440 frames. Our frame calculator helps you estimate frame counts and render time.
8. Compositing and post-production
Rendered layers are combined, colour graded and finished with effects, titles, music and sound design. Editing brings everything together into the final film.
2D or 3D?
3D is excellent for products, mechanisms, spaces and characters that need to be seen from every angle. 2D can be faster for simple explainers and has its own charm. See 2D vs 3D animation: what's the difference? for a full comparison.
Want to start a 3D project?
Explore our services or contact us and tell us what you want to make.