

How to plan a 60-second explainer video: script length, scenes and timing
10 November 2026

Evergreen guide
Why one minute?
A 60-second explainer is long enough to state a problem, show a solution and ask for one action. It is short enough to keep attention on a landing page, in a pitch deck or as a paid social ad. Shorter 15- and 30-second versions can also be cut from it later.
The hard part is not animation. It is deciding what to leave out.
Step 1: Write one sentence first
Before any script, write a single sentence that finishes this line:
"After watching, the viewer should understand ___ and then ___."
For example: "After watching, the viewer should understand that our app books lab tests at home, and then download it." If you cannot write this sentence, the video is not ready to script.
Step 2: Fit the script to the time
Voice-over speed is the main limit on a short video. A common rule of thumb for a clear explainer read is around 140 to 160 words per minute; actual pace varies by voice, language and style. Faster reads sound rushed, especially with on-screen text.
So a 60-second script is roughly 140 to 160 words, and less if you want pauses, music moments or a logo sting at the end. The free Script Timing Calculator on this site turns a script into estimated voice-over seconds and a scene count.
A simple four-part structure works for most products:
- Problem (about 10 seconds). One relatable situation.
- Solution (about 15 seconds). What you offer, in plain words.
- How it works (about 25 seconds). Three steps or three benefits, never more.
- Call to action (about 10 seconds). One action, shown and said.
Step 3: Turn lines into scenes
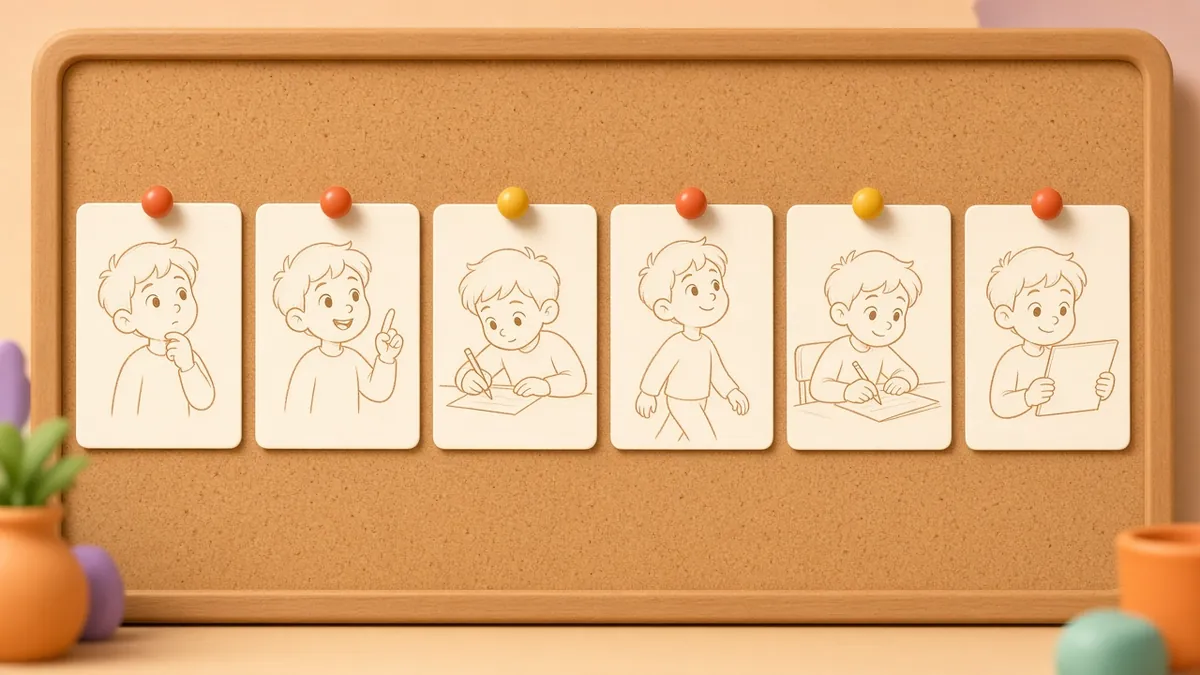
A useful starting point is one scene every 4 to 6 seconds, which gives roughly 10 to 14 scenes for one minute. Each scene should carry one idea. If a line of script needs two visuals, split it.
Write a simple table with three columns: the voice-over line, what we see, and any on-screen text. This becomes the brief for the storyboard. The free Story to Storyboard tool on this site splits a story into scenes and shot cards for a printable storyboard.
Step 4: Choose a style that fits the message
- 2D motion graphics: clean, fast to revise, good for software, finance and data.
- 2D character animation: warmer and story-led, good for consumer apps, education and kids content.
- 3D animation: best when the product itself is physical, or when you need realistic materials, internal parts or 360° views.
Mixing styles is possible, but decide early. Changing style after storyboards is one of the most expensive revisions.
Step 5: Approve in the right order
Late changes tend to be the most expensive. A sensible approval order is:
- Script (words locked)
- Storyboard (what appears in each scene)
- Style frames (the look of two or three key scenes)
- Animatic (rough timing with temporary voice)
- Final voice-over
- Animation and sound
- Final delivery in every format you need (16:9, 9:16, 1:1)
Changing a word at stage 1 is free. Changing it at stage 6 can mean re-animating and re-recording.

Step 6: Plan every format at the start
If you need a vertical cut for Reels or Shorts, say so before storyboards. Framing for 16:9 and 9:16 is different, and planning both from the start costs far less than reframing later. The free Frame, FPS and Aspect Ratio Tool includes an aspect-ratio cheat sheet.
A quick pre-brief checklist
- One-sentence goal written
- Audience defined (who, and what they already know)
- Script around 140–160 words
- 10–14 scene outline
- Style chosen
- Formats and deadline listed
- Budget range agreed (the free Cost Estimator gives an indicative range only)
When your plan is ready, contact Supreme Animation to discuss turning it into a 2D or 3D explainer.
Sources
- Evergreen guide based on standard production practice; no external statistics used.